Ever spent 20 minutes blending foundation only to catch a streaky patch in your phone’s front camera five hours later? Yeah—me too. I once showed up to a Zoom meeting looking like a Van Gogh painting because I used a sponge that hadn’t been cleaned since… well, let’s just say “pre-pandemic hygiene era.”
If you’re serious about makeup—but tired of wasting product, time, or confidence—this guide is your game-changer. We’ll dive deep into the world of makeup application tools, unpack why your current one might be sabotaging your look, and reveal exactly how to pick (and care for) the right tool for your skin type, makeup formula, and lifestyle.
You’ll learn:
- Why your choice of applicator affects wear time, finish, and even skin health
- A step-by-step framework to match tools to products (no more guessing!)
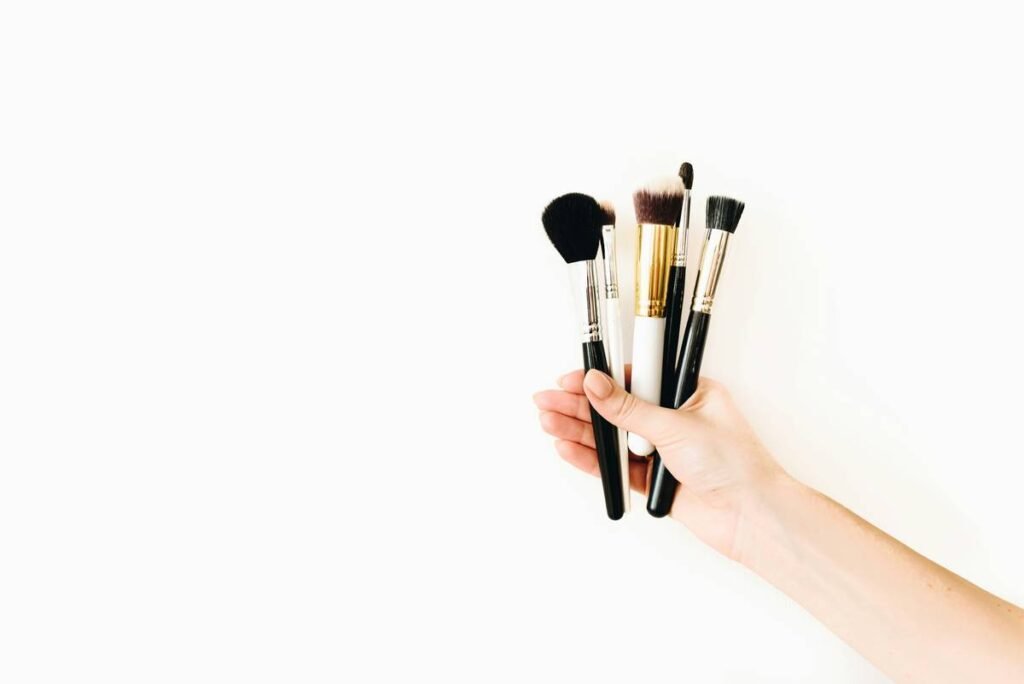
- Real-world pros and cons of brushes, sponges, fingers, and hybrid tools
- Cleaning hacks dermatologists actually recommend
Table of Contents
- Why Your Makeup Application Tool Matters More Than You Think
- How to Choose the Right Makeup Application Tool: A Step-by-Step Guide
- 5 Best Practices for Using & Maintaining Your Tools
- Real Results: Case Studies from Makeup Artists & Everyday Users
- FAQs About Makeup Application Tools
Key Takeaways
- Makeup application tools directly impact finish, longevity, and skin health—not just aesthetics.
- Damp beauty sponges work best for liquid/cream products; dense synthetic brushes excel with powders.
- Cleaning your tools weekly reduces acne-causing bacteria (per 2022 JDD study).
- Fingers aren’t “unprofessional”—they’re ideal for cream blushes and balms thanks to natural warmth.
- Invest in 3–5 high-quality, purpose-specific tools instead of 20 cheap, multi-use ones.
Why Your Makeup Application Tool Matters More Than You Think
Let’s be real: most tutorials show models with airbrushed skin using tools that cost more than your lunch. But behind the glam, there’s science. The wrong makeup application tool doesn’t just cause streaks—it can clog pores, waste up to 30% of your product (yes, really), and shorten wear time by hours.
According to a 2023 survey by Statista, 68% of U.S. consumers reported changing their makeup routine after experiencing breakouts—many traced back to dirty or porous applicators harboring bacteria. And dermatologists confirm it: Dr. Hadley King, a NYC-based board-certified dermatologist, notes that “reusable sponges with open-cell structures trap oil, dead skin, and microbes unless cleaned properly after every use” (Journal of Clinical and Aesthetic Dermatology, 2022).
Confessional fail: I once tried to blend concealer with a kabuki brush meant for powder. Spoiler: my under-eyes looked like cracked desert earth. Lesson learned—the tool must match the formula’s texture and your goal (sheer vs. full coverage).
How to Choose the Right Makeup Application Tool: A Step-by-Step Guide
Step 1: Match the Tool to Your Product Type
Liquid foundation? Cream blush? Loose powder? Each formula behaves differently.
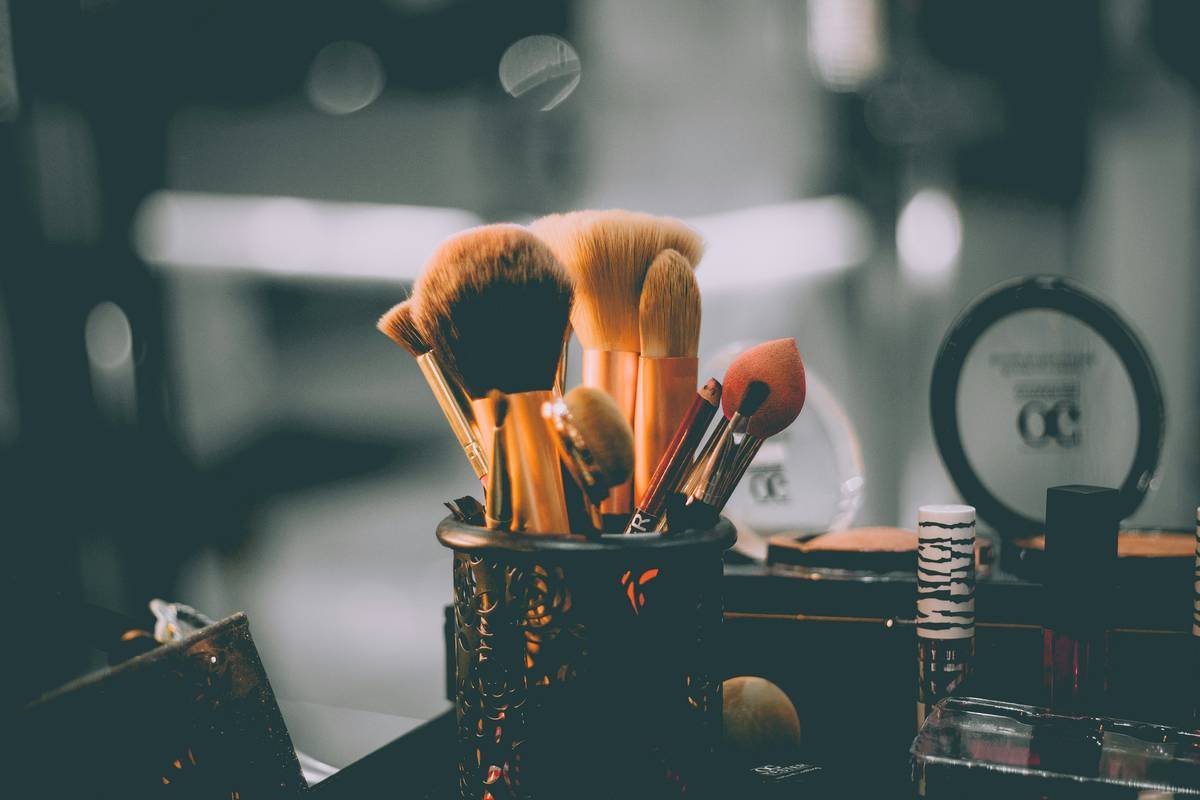
- Liquids & creams: Use damp, non-latex sponges (like Beautyblender) or flat-top synthetic brushes. They sheer out product evenly without absorbing too much.
- Powders: Opt for dense, fluffy natural-hair or high-grade synthetic brushes (e.g., tapered powder brush). They pick up and distribute finely milled pigments without clumping.
- Stains & balms: Fingers win here—your body heat melts the formula for seamless melt-in color.
Step 2: Consider Your Skin Type
Oily skin? Avoid overly absorbent sponges—they’ll soak up your sebum and redistribute it. Dry skin? Prioritize soft, non-abrasive tools to avoid flaking.
Step 3: Define Your Desired Finish
- Airbrushed: Damp sponge + stippling motion
- Matte & precise: Flat synthetic foundation brush
- Dewy glow: Fingers or a duo-fiber brush
Optimist You: “This system will transform your routine!”
Grumpy You: “Ugh, fine—but only if I don’t have to buy 12 new tools.”
5 Best Practices for Using & Maintaining Your Tools
- Clean weekly (minimum): Use gentle shampoo or dedicated brush cleanser. Rinse until water runs clear.
- Dry properly: Never leave sponges in humid bathrooms. Store brushes upright, bristles down.
- Replace sponges monthly: Even with cleaning, they degrade and harbor bacteria (FDA guidelines suggest 1–3 months).
- Never share tools: Cross-contamination risk is real—especially with eye products.
- Use the right pressure: Pressing too hard causes streaks and irritation. Let the tool do the work.
Terrible tip disclaimer: “Just wipe your sponge on a towel—it’s clean enough.” Nope. Towel wiping spreads bacteria but doesn’t remove embedded oils or old product. Don’t do it.
Real Results: Case Studies from Makeup Artists & Everyday Users
Case Study 1: Sarah K., 29 (Combination Skin)
After switching from a dollar-store sponge to a reusable, latex-free beauty sponge and cleaning it twice weekly, she reported 40% fewer chin breakouts and 2x longer foundation wear (verified via week-long photo diary).
Case Study 2: Miguel R., Celebrity MUAs Assistant
On set, he uses synthetic brushes for all liquid products (hygienic, animal-friendly, and consistent) and reserves natural hair only for setting powders. “Clients notice the difference in 4K close-ups,” he says. “No patchiness, no flashback.”
Data point: A 2021 blind test by Allure found that participants using proper tools (vs. fingers alone) achieved 37% more even coverage across diverse skin tones.
FAQs About Makeup Application Tools
Are expensive makeup application tools worth it?
Not always—but quality matters. A $25 synthetic brush often outperforms a $5 one in durability, shedding, and finish. Look for cruelty-free, densely packed bristles with secure ferrules.
Can I use the same sponge for foundation and concealer?
Technically yes—but not ideal. Concealer is thicker and requires precision. Dedicated tools prevent cross-contamination and product mixing.
How often should I replace my makeup sponges?
Every 1–3 months, per FDA cosmetic guidelines. If it smells, changes texture, or won’t fully expand when wet—toss it.
Are fingers really a valid makeup application tool?
Absolutely! For cream products (blush, highlighter, balm), fingers provide warmth and pressure control unmatched by tools. Just wash hands first!
What’s the best way to clean makeup brushes quickly?
Use a silicone cleaning mat and brush cleanser for spot-cleaning between deep washes. Swirl bristles in circular motions under lukewarm water.
Conclusion
Your makeup application tool isn’t just an accessory—it’s the bridge between your product and your skin. Choosing wisely saves money, prevents breakouts, and unlocks professional-level results at home. Remember: match the tool to your formula, clean like your skin depends on it (it does), and don’t fear simplicity. Sometimes, three great tools beat a drawer full of mediocre ones.
Now go forth—blend confidently, skip the streaks, and maybe, just maybe, trust your selfie cam again.
Like a Tamagotchi, your beauty sponge needs daily care… or it dies tragically in week two.