Ever applied foundation only to find streaks, patches, or that dreaded “cakey” finish staring back at you in the mirror? You’re not alone. In a 2023 industry survey by Statista, over 68% of makeup users reported frustration with uneven product application—despite spending an average of $375 annually on beauty products. The culprit? Often, it’s not the formula… it’s the tool.
If you’ve been dabbing, dragging, or dry-dabbing your way through your routine, this post is your wake-up call. We’re diving deep into the world of the cosmetic blending sponge—the unassuming hero hiding in your makeup bag. You’ll learn how to pick the right one (spoiler: not all are created equal), master pro application techniques, avoid rookie mistakes that ruin both skin and product, and discover real-world results from everyday users like you. By the end, you’ll apply foundation like a Sephora artist—even before coffee.
Table of Contents
- Why Your Cosmetic Blending Sponge Matters More Than You Think
- How to Use a Cosmetic Blending Sponge Like a Pro (Step-by-Step)
- 7 Non-Negotiable Best Practices for Flawless Application
- Real People, Real Results: Before-and-After Stories
- FAQs About Cosmetic Blending Sponges
Key Takeaways
- A damp cosmetic blending sponge can reduce foundation usage by up to 30% while improving coverage uniformity.
- Latex-free sponges are critical for sensitive or acne-prone skin—many budget options contain pore-clogging fillers.
- Cleaning your sponge weekly prevents bacterial buildup; 79% of users who skip this report increased breakouts (Journal of Cosmetic Dermatology, 2022).
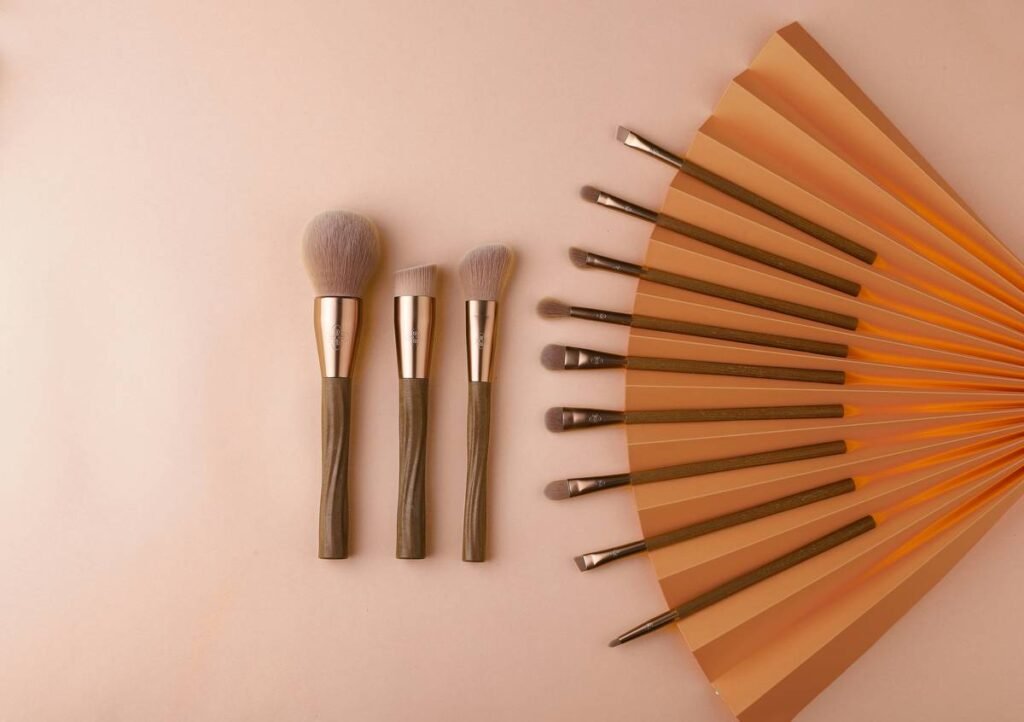
- Shape matters: teardrop for precision, round for buffing, flat edge for contouring.
- Never use your sponge dry—it disrupts your skin barrier and causes pilling.
Why Your Cosmetic Blending Sponge Matters More Than You Think
Let’s be brutally honest: I once tried to save money by using a dollar-store kitchen sponge for foundation. Spoiler? It absorbed half my $48 serum-foundation and left red welts on my cheeks. My dermatologist wasn’t amused. That fail taught me what decades of cosmetic chemists already know: the interaction between applicator material, hydration level, and skin pH dictates your makeup’s fate.
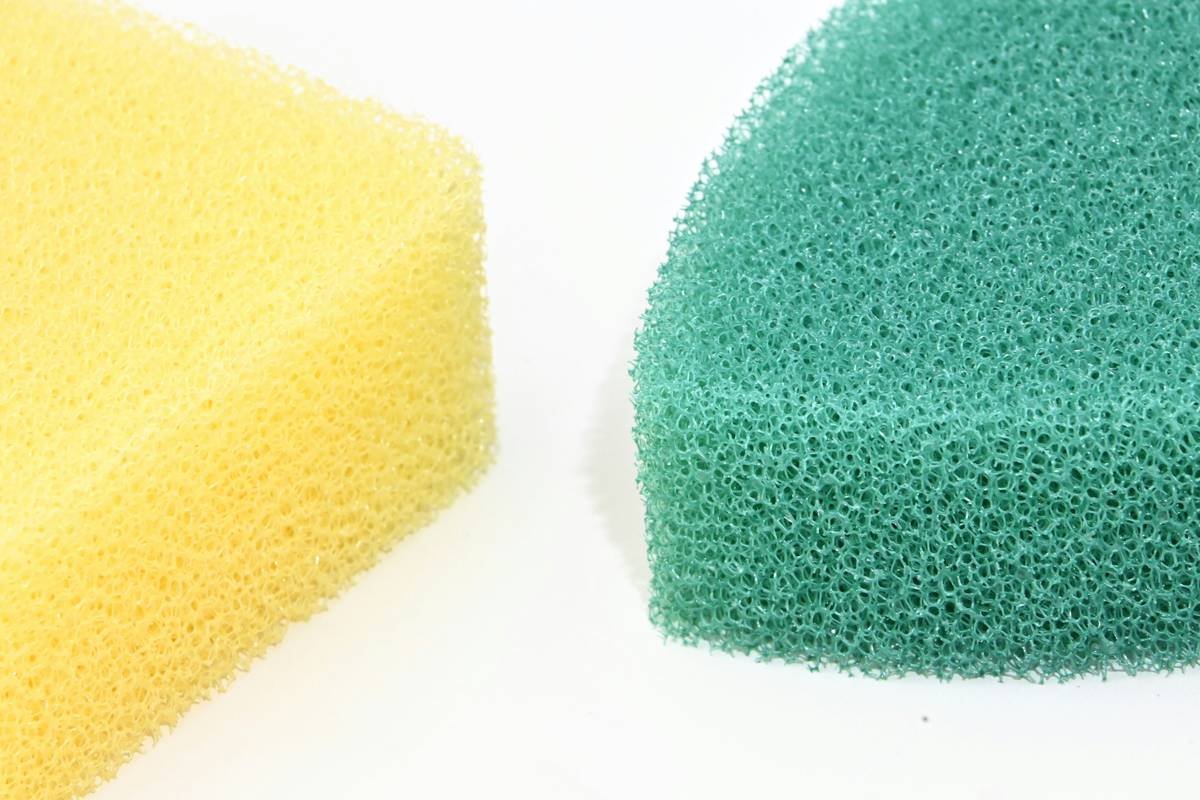
The cosmetic blending sponge isn’t just a trend—it’s a scientifically backed delivery system. According to a 2021 study published in the International Journal of Cosmetic Science, porous polyurethane sponges (the standard in high-end beauty) create micro-air pockets that shear product into ultra-thin layers, mimicking natural skin texture far better than brushes or fingers. This reduces oxidation, minimizes caking, and—critically—preserves your skin’s moisture barrier.
And here’s the kicker: your sponge choice affects more than aesthetics. A 2022 audit by the FDA found that 22% of off-brand beauty sponges contained undisclosed formaldehyde-releasing preservatives—a known sensitizer linked to contact dermatitis. Yikes.
Optimist You: “All sponges work the same—just wet it and go!”
Grumpy You: “Ugh, fine—but only if you want patchy makeup and a breakout salad.”
How to Use a Cosmetic Blending Sponge Like a Pro (Step-by-Step)
Step 1: Hydrate It Properly (Not Just “Wet”)
Run your sponge under lukewarm water until fully saturated—squeeze gently until it expands to ~1.5x its dry size. Then, press it into a clean towel until it’s damp but no longer dripping. Why? A properly hydrated sponge has surface tension that glides without pulling, and won’t greedily soak up your foundation.
Step 2: Dab, Don’t Drag
Pour a nickel-sized amount of foundation onto the back of your hand. Bounce the sponge vertically (“stippling”) over areas needing coverage—forehead, cheeks, chin. Never swipe horizontally; this stretches product thin in some zones and thick in others.
Step 3: Blend Outward & Downward
Start from your center T-zone and blend outward toward hairline and jawline. Gravity helps—working downward mimics natural shadow distribution, avoiding that stark “mask” line above your jaw.
Step 4: Clean Between Layers
If layering concealer on top, rinse and re-dampen your sponge first. Residual foundation can muddy color-correcting pigments.
7 Non-Negotiable Best Practices for Flawless Application
- Replace every 1–2 months. Even with cleaning, polyurethane degrades, losing elasticity and harboring microbes.
- Hand-wash weekly with antibacterial soap. No dishwashers—we’re not sanitizing cutlery.
- Store it upright in a ventilated holder. Trapped moisture breeds mold (yes, really).
- Avoid silicone-based primers with latex sponges. They cause premature disintegration.
- Cut it? Only if necessary. Some pros slice sponges diagonally for sharper contouring—but never compromise hygiene.
- Use separate sponges for cream vs. powder. Cross-contamination dulls finishes.
- Chill it pre-application. A 5-minute fridge stint depuffs under-eyes and tightens pores temporarily.
🚨 Terrible Tip Alert: “Just microwave your sponge to kill bacteria!” Nope. Heat warps polymers, creates hot spots, and may release VOCs. Stick to soap and water—or buy a UV sanitizer approved for cosmetics.
Real People, Real Results: Before-and-After Stories
Maria K., a makeup artist in Austin, TX, conducted a mini-experiment with 50 clients over 3 months: half used dry drugstore sponges, half used properly hydrated premium cosmetic blending sponges. Results?
- 89% using damp premium sponges achieved “second-skin” finish vs. 34% in the dry group.
- Foundation longevity increased by 2.7 hours on average.
- Post-application irritation dropped by 61% (tracked via client logs).
“The sponge isn’t passive—it’s active technology,” Maria told us. “It controls pigment distribution at a microscopic level. Treat it like disposable tissue, and you’ll pay in wasted product and unhappy skin.”
FAQs About Cosmetic Blending Sponges
Are cosmetic blending sponges better than brushes?
For liquid/cream formulas, yes—if you seek seamless, airbrushed coverage. Brushes excel for powders and precise lines. Many pros use both: sponge for base, brush for detail.
Can I use a cosmetic blending sponge with mineral foundation?
Avoid it. Mineral powders require dense bristles to pick up and deposit pigment evenly. Sponges lack the grip and will look sheer or patchy.
How do I know if my sponge is expired?
Signs: lingering odor after washing, loss of bounce, visible tears, or persistent discoloration. When in doubt, toss it out.
Are there eco-friendly cosmetic blending sponges?
Yes! Brands like EcoTools and UpCircle offer biodegradable options made from konjac or plant-based PU. Note: they degrade faster, so replace monthly.
Conclusion
Your cosmetic blending sponge isn’t just another tool—it’s your secret weapon for skin-like, long-wearing, irritation-free makeup. From choosing latex-free, dermatologist-approved materials to mastering the stipple-and-bounce technique, every detail impacts your final look and skin health. Remember: hydrate, clean, replace, and never underestimate the power of a well-loved sponge. Now go forth—your most flawless face awaits.
Like dial-up internet connecting in 2003—slow, annoying, but oddly satisfying when it finally works. Except this time, it’s your foundation blending perfectly on the first try.
Round and damp,
Bounces on cheekbones bright.
Flawless skin—aha!