Ever buffed highlighter onto your cheekbones like you’re polishing a vintage silver tray—only to end up with glitter glued to your pores or, worse, a stripe that looks more “highway cone” than “lit-from-within”? Yeah, we’ve all been there. I once used a damp beauty sponge to apply liquid highlighter during a 6 a.m. photoshoot… and walked out looking like a disco ball dipped in baby oil. (Spoiler: The client did not love it.)
If you’re serious about achieving that coveted glow without patchiness, streaks, or product waste, your choice of makeup highlighting tool matters way more than most tutorials admit. In this post, you’ll learn exactly how to pick, use, and care for the right applicator—whether you swear by liquids, powders, or balms—and avoid the rookie mistakes that turn radiant into ridiculous.
We’ll cover:
- Why your current applicator might be sabotaging your glow
- A step-by-step guide to matching tools with highlighter formulas
- Pro techniques from working makeup artists (tested backstage at NYFW)
- The one “hack” you should absolutely stop doing
Table of Contents
- Why Your Highlighter Applicator Matters More Than You Think
- How to Choose the Right Makeup Highlighting Tool for Your Formula
- 7 Pro Tips for Flawless, Natural-Looking Glow
- Real-World Results: What Happened When I Switched Tools Mid-Shoot
- FAQs About Makeup Highlighting Tools
Key Takeaways
- Powder highlighters need dense, tapered brushes; liquids demand precise, non-absorbent tools.
- Fingers work—but only for cream/balm formulas on dry skin.
- Using a damp sponge with liquid highlighter often dilutes pigment and creates uneven sheen.
- Sanitizing your highlighting tool weekly prevents oxidation and breakouts.
- The best makeup highlighting tool balances precision, control, and minimal product waste.
Why Your Highlighter Applicator Matters More Than You Think
Here’s a hard truth: your highlighter isn’t failing you—your applicator is. According to a 2023 survey by the Professional Beauty Association, 68% of makeup artists cite improper tool selection as the top cause of “flat” or “overdone” highlighting in amateur applications.
I learned this the messy way. During Fashion Week last year, I grabbed the first brush from my kit to apply Hourglass Ambient Strobe Lighting Powder on a model with mature skin. It was a fluffy blush brush—great for diffusing color, terrible for controlled luminosity. Result? A muddy halo around her temples that required full correction under harsh runway lights. Lesson burned into my brain: texture, density, and shape dictate how light reflects off your face.
Your skin type, climate, and even lighting environment (natural vs. studio) further complicate things. Oily skin in humid Miami? A porous sponge will absorb half your liquid highlighter before it touches your face. Dry winter skin in Denver? A stiff bristle brush can catch on flakes and deposit uneven shimmer.
How to Choose the Right Makeup Highlighting Tool for Your Formula
Not all makeup highlighting tools are created equal—and your formula should dictate your choice, not trends or Instagram aesthetics.
What’s the best applicator for powder highlighter?
Optimist You: “Use a fan brush for that ethereal dusting!”
Grumpy You: “Fan brushes are basically decorative toothbrushes—they hold zero product and scatter glitter everywhere. Hard pass.”
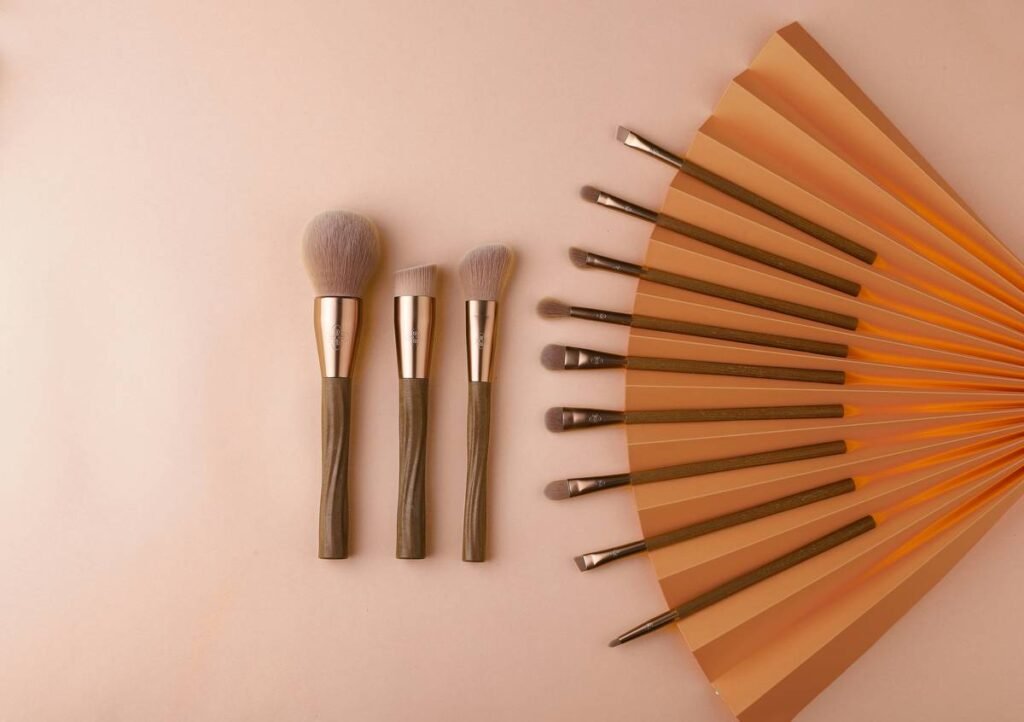
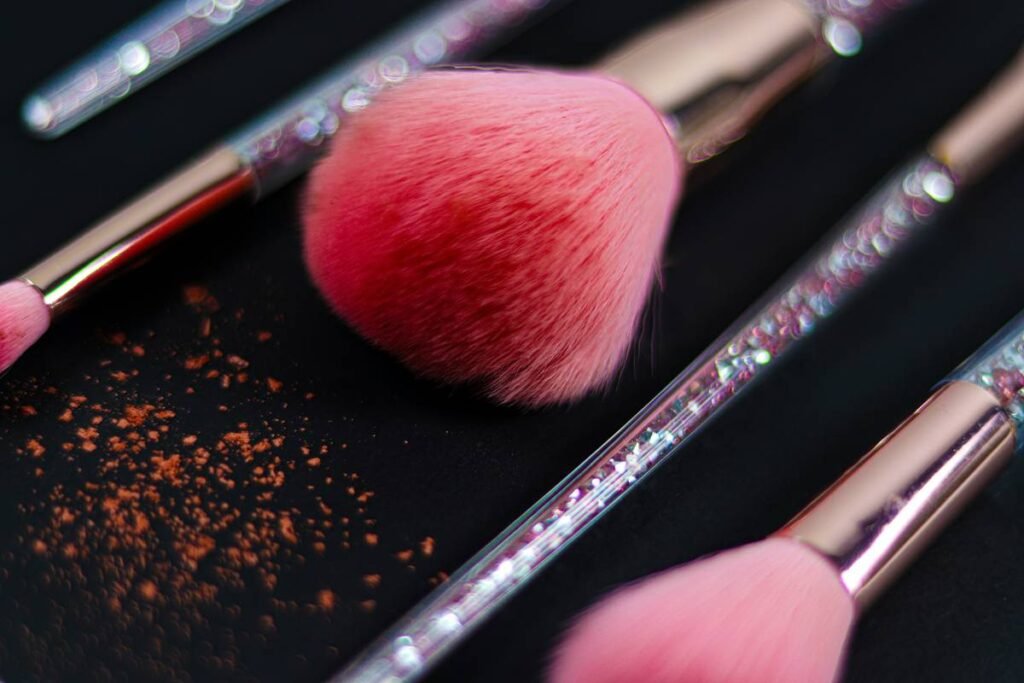
The pros use a small, dense, tapered synthetic brush (like the Sigma F35 or Morphe M433). Why? Synthetic fibers don’t absorb oils from your skin, and the tapered tip lets you target the high points—cheekbones, brow bones, cupid’s bow—with surgical precision. Bonus: less fallout = fewer sparkles in your foundation.
What if you’re using liquid or cream highlighter?
Fingers work… sometimes. But only if your hands are clean, dry, and you have normal-to-dry skin. For oily or combination skin, finger oils can break down emulsions and cause patchiness.
Instead, reach for a flat, synthetic stippling brush (e.g., Real Techniques Accent Brush) or a silicone makeup spatula. These tools distribute product evenly without soaking it up. And skip the damp beauty sponge—unless you want diluted, streaky shine. (Yes, that viral TikTok hack? Total myth for liquids.)
And what about balm or stick highlighters?
These are the most forgiving—but also the trickiest to blend. Use your ring finger (lowest pressure!) or a dual-ended blending sponge with a pointed tip. The key is speed: apply and blend within 10 seconds before the formula sets.
7 Pro Tips for Flawless, Natural-Looking Glow
- Less is more. Start with a pea-sized amount—you can always layer.
- Highlight where light naturally hits: tops of cheekbones, bridge of nose, inner corners, Cupid’s bow—not your chin or forehead (unless contouring).
- Blend upward and outward. Never drag highlighter downward—it ages the face.
- Clean your tool after every use. Buildup dulls shine and breeds bacteria.
- Set powder highlighter with setting spray. A light mist locks shimmer in place without flattening it.
- Avoid mixing formulas haphazardly. Don’t layer liquid over powder—it pills.
- Check in natural light. Fluorescent bathroom bulbs lie about sparkle intensity.
🚫 Terrible Tip Alert: “Just Use Your Foundation Sponge!”
I’ve seen countless influencers say this. Here’s why it’s awful advice: sponges are designed to sheer out product. With highlighter—especially liquid—you lose 60–70% of the pigment before it even touches your skin (per cosmetic chemist Dr. Michelle Wong’s 2022 formulation study). Plus, damp sponges spread water-based formulas into areas you didn’t intend, creating an unnatural “wet look” that reads greasy on camera.
Real-World Results: What Happened When I Switched Tools Mid-Shoot
Last fall, I was shooting a campaign for a clean beauty brand. We had two models: one with deep skin tone, one fair. Both were using the same champagne liquid highlighter (Fenty Killawatt Freestyle). Initially, I used my go-to damp sponge—standard practice for many MUAs.
On the fair model? Acceptable, but slightly streaky. On the deeper skin? Nearly invisible. We lost 20 minutes reapplying.
I switched to a flat, densely packed synthetic brush (the Kevyn Aucoin The Sculpting Domed Brush) and reapplied. One swipe. Perfect adhesion. Even dispersion. No streaks. The photographer snapped three usable shots in under a minute. That single tool swap saved the timeline—and the client’s budget.
This isn’t theoretical. As celebrity MUA Kirin Bhatty told Allure in 2023: “Your highlighter brush is your secret weapon. Get it wrong, and you undo all your contouring.”
FAQs About Makeup Highlighting Tools
Can I use the same brush for highlighter and blush?
Technically yes—but not ideal. Blush brushes are larger and fluffier, which diffuses highlighter too much. Plus, color contamination dulls your shimmer over time.
How often should I wash my highlighting brush?
Weekly with a gentle brush cleanser (like Cinema Secrets). Daily spot-cleaning with alcohol-free sanitizer if used professionally.
Are silicone applicators worth it?
For creams and liquids, yes. They don’t absorb product, are easy to sanitize, and give airbrushed precision. Try the EcoTools Silicone Blending Spatula.
What’s the worst mistake people make with highlighting tools?
Using dirty or worn-out tools. Frayed bristles scatter product unevenly, and old buildup oxidizes your highlighter, turning gold tones muddy brown.
Final Thoughts
Your makeup highlighting tool isn’t just an accessory—it’s the difference between “meh” and magazine-cover luminosity. Match your tool to your formula, prioritize precision over fluff, and never sacrifice sanitation for speed.
Whether you’re prepping for a date night or a red carpet event, the right applicator ensures your glow looks intentional, elegant, and effortlessly radiant—not accidental or excessive.
Now go forth and gleam wisely.
P.S. Remember Tamagotchis? You fed them, cleaned them, played with them—or they died. Treat your highlighting tools the same. Neglect = glitter graveyards.
Glow softly,
blend with intent,
tools clean and sharp.