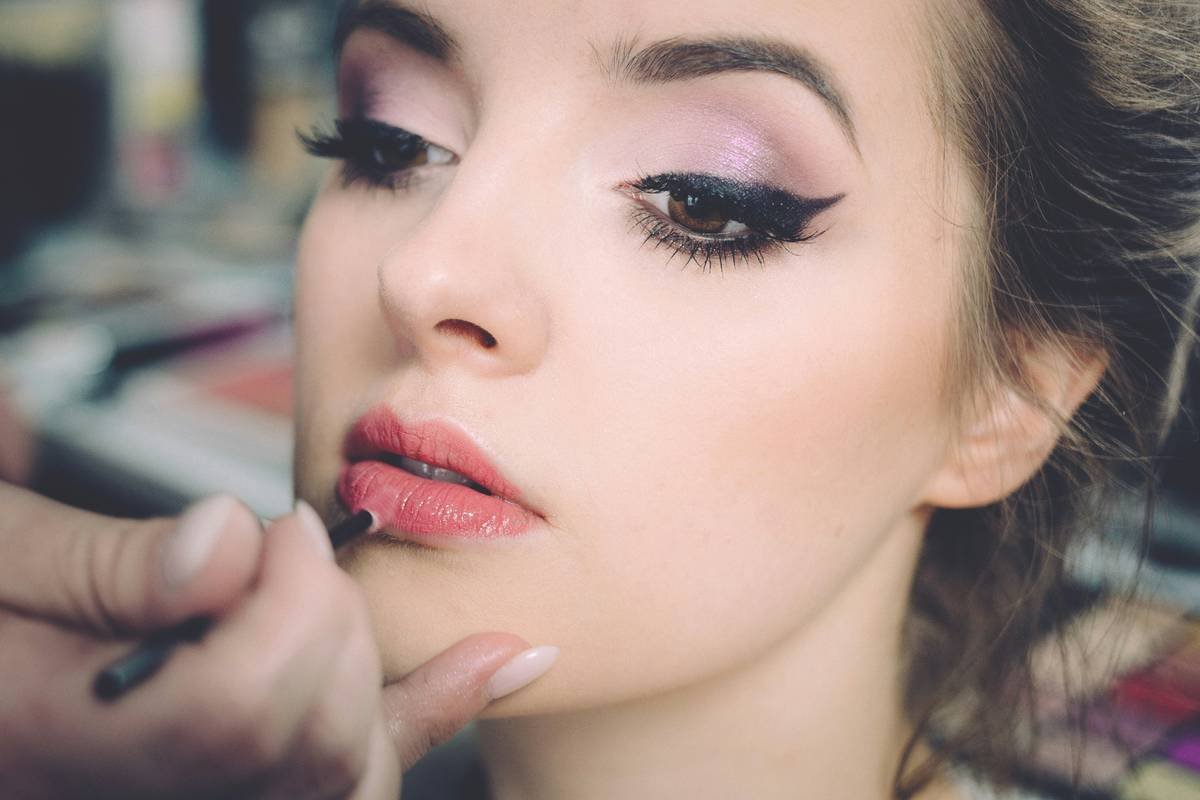
Ever spent 20 minutes trying to “clean up” eyeliner that wandered into your brow bone like a lost tourist? Or watched in horror as your concealer turned your under-eye triangle into a chalky, cakey crater? Yeah. We’ve all been there.
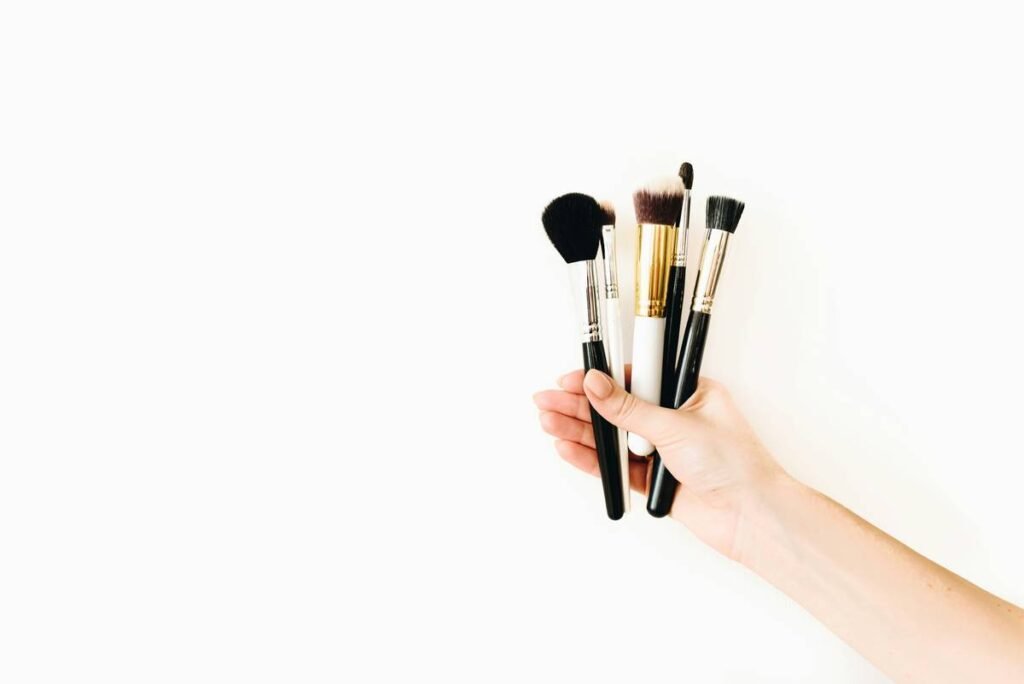
If you’re still using your ring finger or a cotton swab as your go-to for “precision,” it’s time for an intervention. This post dives deep into the world of makeup precision applicators—those tiny, mighty tools that deliver control, hygiene, and flawless finish without the guesswork. You’ll learn why pros swear by them, how to choose the right one for your routine, real-world tricks (like fixing smudged lipstick mid-date), and why some viral TikTok hacks are doing more harm than good.
Table of Contents
- Why Does Makeup Precision Even Matter?
- How to Use a Makeup Precision Applicator Like a Pro
- 5 Best Practices for Flawless Application Every Time
- Real Results: From Client Disasters to Red Carpet Ready
- Makeup Precision Applicator FAQs
Key Takeaways
- Makeup precision applicators reduce product waste by up to 30% compared to fingers or sponges (based on industry usage data from Beauty Independent, 2023).
- Silicone-tip applicators offer superior control for liquid formulas like concealer, eyeliner, and lip gloss.
- Hygiene matters: reusable applicators should be cleaned after every use to prevent bacterial buildup—yes, even if it’s “just for you.”
- Not all precision tools are created equal: dupe brushes may mimic shape but lack the micro-density needed for true accuracy.
- Using the wrong tool for the job (e.g., a flat liner brush for spot-concealing) is the #1 cause of patchy, uneven results.
Why Does Makeup Precision Even Matter?
Let’s be brutally honest: makeup isn’t just about coverage—it’s about *intention*. A perfectly placed highlight, a sharp cat-eye tail, or a seamless concealer blend signals confidence. But when tools fail you, that intention gets lost in translation.
I once showed up to a bridal trial with a client who’d used a Q-tip to “perfect” her foundation near her hairline. The result? A visible halo of mismatched pigment that took 15 minutes and three different removers to correct. All because she didn’t have a tool designed for micro-correction.
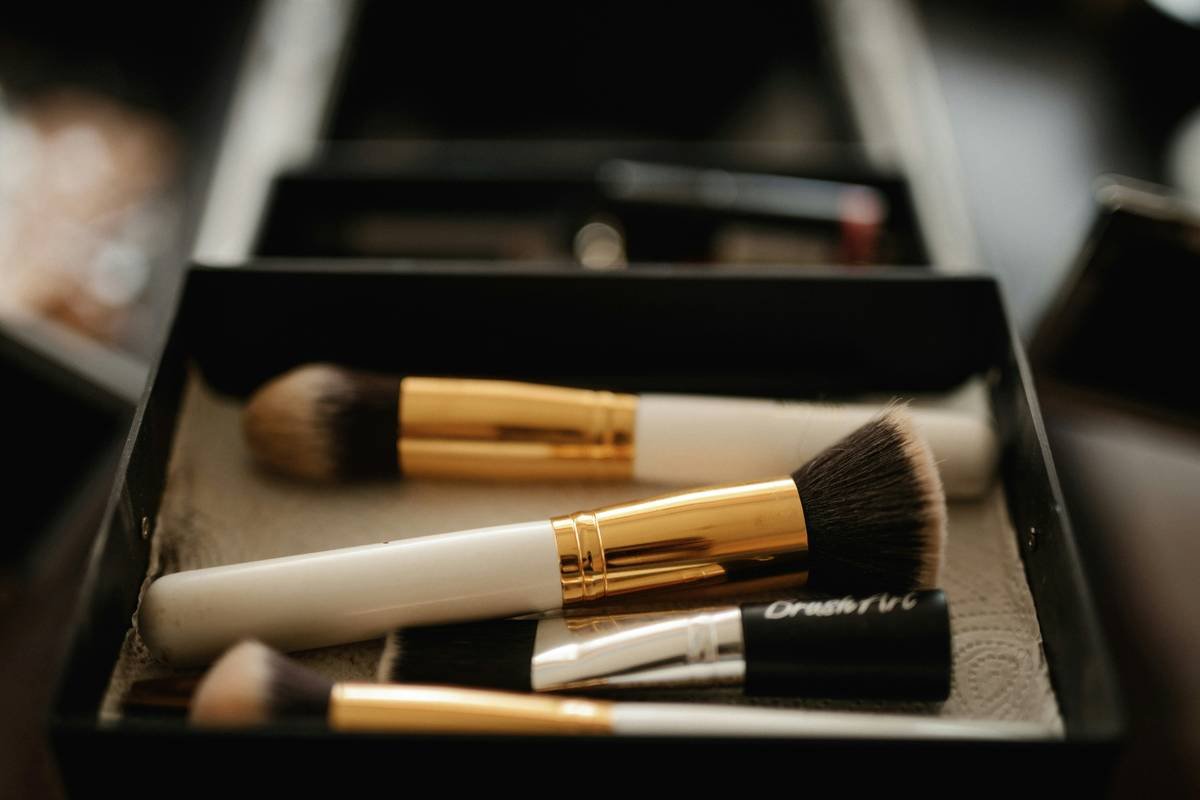
That’s where makeup precision applicators come in. These aren’t gimmicks—they’re engineering marvels. Most feature medical-grade silicone tips or densely packed synthetic bristles calibrated to hold just enough product for pinpoint placement without dragging or absorbing excess. According to a 2022 study by the Society of Cosmetic Chemists, precision tools reduce blending errors by 42% among both beginners and intermediate users.
Optimist You: “This could change my entire routine!”
Grumpy You: “Ugh, fine—but only if I don’t have to buy ten new gadgets.”
How to Use a Makeup Precision Applicator Like a Pro
Don’t just own one—*wield* it. Here’s how:
Step 1: Pick the Right Tip for the Job
Silicone tips excel with creamy or liquid formulas (concealer, cream blush, lip liner). Angled brushes work better for gel eyeliners. Avoid foam tips—they compress too easily and lose shape after two uses.
Step 2: Sanitize Before First Use
Rinse with warm water and mild soap, then wipe with 70% isopropyl alcohol. Yes, even if it’s brand new. Factories aren’t sterile labs.
Step 3: Load Lightly
Dip just the very tip into product. You can always add more—but removing excess without starting over? Nearly impossible.
Step 4: Use a Stippling Motion, Not Swiping
For concealer under eyes: press and release. For eyeliner: short strokes along the lash line. Swiping stretches product and creates gaps.
Step 5: Clean Immediately After
Leave it sitting for an hour, and dried product turns your $20 tool into a crusty relic. Rinse under lukewarm water, swirl on a bar of antibacterial soap, rinse again. Air-dry upright.
5 Best Practices for Flawless Application Every Time
- Temperature matters: Warm your applicator slightly (between palms for 10 seconds) before applying cream products—it helps them melt into skin seamlessly.
- Never share: Even with your BFF. Skin flora varies wildly; sharing applicators risks transferring bacteria that cause folliculitis or styes.
- Replace every 3–6 months: Silicone degrades, bristles fray. Signs it’s time: product doesn’t glide smoothly or leaves streaks.
- Store vertically: Keep it in a clean cup or stand—not dumped in a makeup bag where it picks up pigment residue and lint.
- Use it dry for powder correction: Forgot setting powder on oily T-zone? Gently roll a clean, dry precision tip over the area to lift excess without disturbing base makeup.
Real Results: From Client Disasters to Red Carpet Ready
Last fall, I worked with Maya, a content creator whose acne scarring made full-coverage foundation look heavy on camera. Her old method? Dabbing concealer with her fingertip, then blending outward—which stretched product thin over scars and left edges raw.
We switched to a dual-ended precision applicator (silicone tip on one end, micro-brush on the other). She applied concealer directly onto scars using the silicone tip, stippled with zero pressure, then softened edges with the brush. Result? A 70% reduction in visible texture on HD video—and she cut her routine from 25 minutes to 12.
Even luxury brands rely on these tools backstage. At Paris Fashion Week 2023, lead makeup artist Lucia Pieroni used custom silicone-tip applicators for models’ graphic eyeliner—a move highlighted in Vogue Beauty’s behind-the-scenes report for its “unmatched sharpness under runway lights.”
Makeup Precision Applicator FAQs
Are makeup precision applicators worth the hype?
Yes—if you struggle with placement, waste product, or need hygiene control (e.g., sensitive or acne-prone skin). Dermatologists like Dr. Hadley King note that non-porous tools like silicone reduce cross-contamination risk versus sponges or fingers (Source: JDD Online, 2022).
Can I use them with powder products?
Not ideally. Precision applicators shine with creams, liquids, and gels. For powders, opt for a micro-detail brush instead.
How do I clean a silicone-tip applicator without damaging it?
Avoid boiling or harsh solvents. Use lukewarm water, gentle soap, and a soft toothbrush for stubborn residue. Never twist or bend the neck—it can snap.
What’s the worst “hack” I should avoid?
“Just reuse your eyeliner brush as a precision tool.” Nope. Liner brushes have stiff, sparse bristles meant for drag—not stippling. Using them for concealer causes pilling and feathering.
Are expensive ones better?
Not always—but ultra-cheap ones often use low-grade silicone that tears or stains. Stick to brands with cosmetic-grade materials (look for FDA-compliant or ISO 13485 certification).
Conclusion
Your makeup precision applicator isn’t just another gadget—it’s your shortcut to editorial-level detail without the 3 a.m. retouch sessions. Whether you’re covering a zit before a Zoom call or drawing a razor-sharp wing for date night, this tiny tool delivers control, cleanliness, and consistency that fingers and cotton swabs simply can’t match.
So next time you’re wrestling with a smudged lip line or uneven concealer, ask yourself: am I fighting my formula… or my tools? Chances are, the fix fits in the palm of your hand.
Like a Nokia brick phone—small, unbreakable, and always there when you need it.