You’ve layered on the most expensive liquid highlighter. You’ve watched every tutorial. Yet your cheekbones still look muddy—not luminous. The issue isn’t your product. It’s your makeup highlighting applicator. Most tools smear, absorb, or unevenly distribute reflective particles. That kills dimension before it even hits your skin.
The Core Problem: Why Fingers and Sponges Fail at Precision Highlighting
Fingers? They warm up formulas—but they also leave oils and inconsistent pressure. Beauty blenders? They soak up half your product and diffuse edges into nothingness. And dense brushes? They drag instead of glide, creating patchy streaks.
Here’s the reality: highlighting demands micro-precision. A millimeter off, and you’re emphasizing pores instead of planes. Standard applicators weren’t engineered for light-refracting actives—they were built for blending foundation.
How to Apply Highlighter Like a Pro: A Step-by-Step System
Selecting Your Ideal Applicator Type
Not all applicators are created equal. Silicone tips offer zero absorption and surgical control. Angled synthetic bristles work for powder formulas. But avoid anything plush or porous—those trap shimmer like flypaper.
Prepping Skin for Reflective Finish
Clean, hydrated skin is non-negotiable. Dry patches scatter light; oily zones cause slippage. Use a matte primer only where needed—never under the high points you’ll highlight. Dew matters. Texture ruins it.
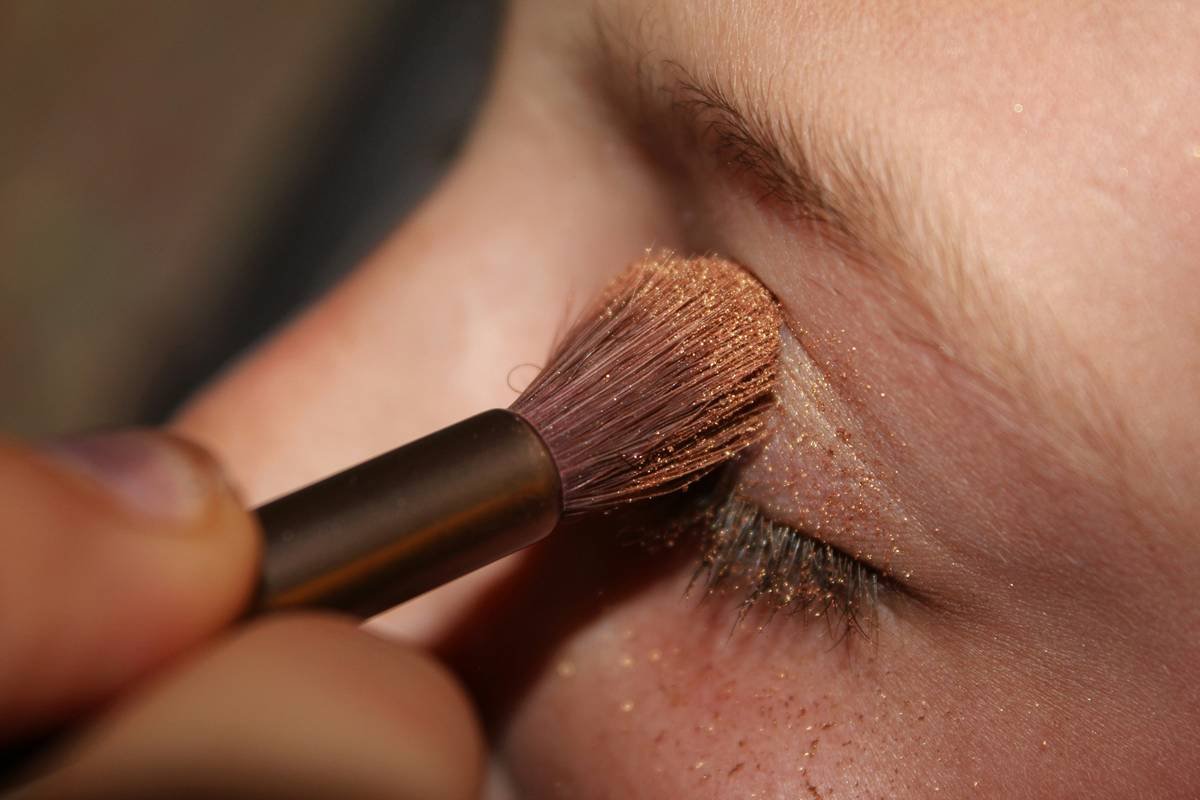
Application Technique That Actually Builds Dimension
Dip—don’t drag. Tap—don’t swipe. Build in sheer layers. Start with less than you think you need. Blend upward toward the temple, never downward. Gravity pulls product south; fight it.
| Applicator Type | Best For | Product Waste | Precision Level |
|---|---|---|---|
| Fingertips | Cream/Liquid (emergency only) | Medium | Low |
| Damp Beauty Sponge | Sheer washes (not precise highlighting) | High | Very Low |
| Dense Synthetic Brush | Powder highlighters | Low | Moderate |
| Silicone-Tip Applicator | All formulas, especially liquids & creams | Near Zero | High |
The Industry Secret: Silicone Tips Are Quietly Dominating Backstage
Ask any top-tier makeup artist working Fashion Week what they reach for during final checks—and nine times out of ten, it’s a tiny silicone-tipped wand. Not a brush. Not a sponge. Why? Because backstage speed demands zero absorption, instant correction, and crisp edge definition. These tools cost pennies to manufacture but retail for $18–$25. Brands won’t tell you that. They’d rather sell you a $40 brush set.
But here’s the kicker: many “luxury” applicators are just repackaged medical-grade silicone from the same Shenzhen factory. The difference? Packaging and markup. Performance? Identical. Smart buyers skip the branding theater.
FAQ: Real Questions About Makeup Highlighting Applicators
Can I use a makeup highlighting applicator for concealer?
Only if it’s cleaned thoroughly between uses. Silicone tips work for spot-concealing—but cross-contamination dulls highlighter performance fast.
How often should I replace my makeup highlighting applicator?
Silicone tips last months with proper cleaning. Brushes? Every 3–6 months. Sponges? Toss them weekly. Bacteria buildup kills glow faster than bad lighting.
Do expensive applicators actually perform better?
Rarely. Price inflates perception—not function. A $6 silicone wand from a no-name brand often outperforms a $30 designer tool. Test blind if you doubt it.